Platform Overview
HOW IT WORKS
- Displays information from multiple EMAs in one consolidated line.
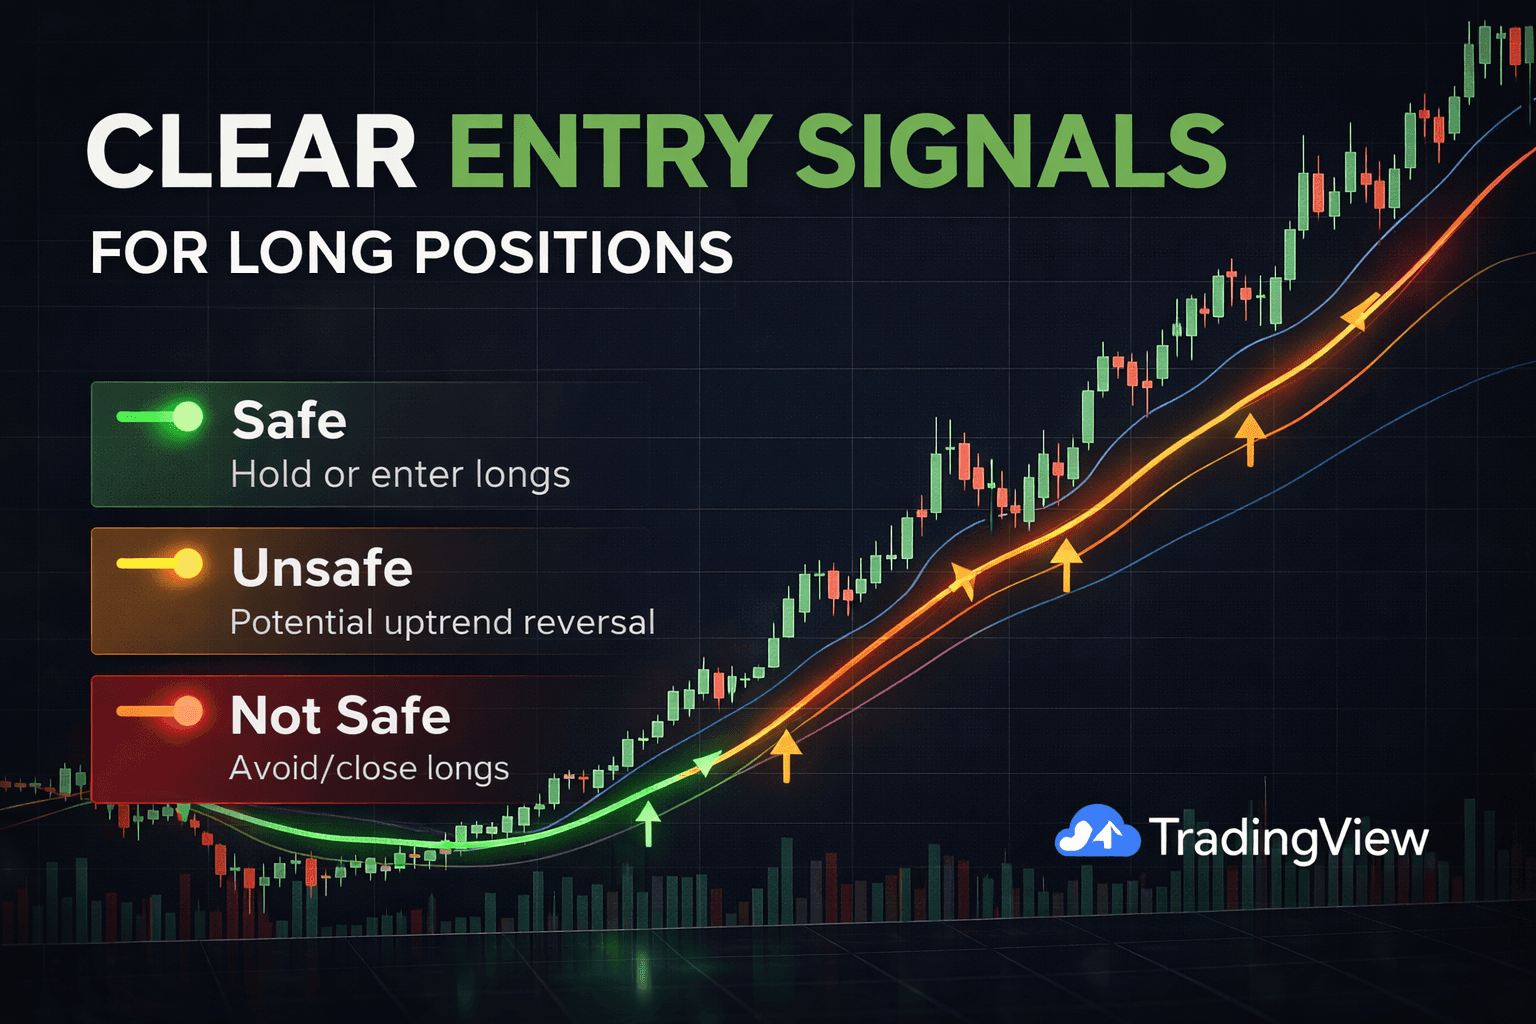
- Color-coded signals for long positions:
- Green = Safe area (suitable for entering/holding long positions).
- Orange = Unsafe area (potential uptrend reversal; consider closing longs if open).
- Red = Not safe (avoid or close long positions).
- Colors are fully customizable by the user.
- Supports user inputs for EMA periods and other settings.
- Works on all cryptocurrency, stock, and forex pairs.
- Runs in real time on any timeframe.
- Compatible with TradingView.
- VISUALS
- Line is Green (Safe for Long Positions) – EMA 1 length is above every other EMA value specified by the user.
- Line is Orange (Attention for Long Positions) – EMA 1 length is below EMA 2 length but both are still above EMA 3 and EMA 4.
- Line is Red (Close Long Positions) – EMA 1 and/or EMA 2 has fallen below EMA 3 and EMA
- INPUTS
- EMA 1 Length – This input will change the value of EMA 1.
- EMA 2 Length – This input will change the value of EMA 2.
- EMA 3 Length – This input will change the value of EMA 3.
- EMA 4 Length – This input will change the value of EMA 4.
- PROPERTIES
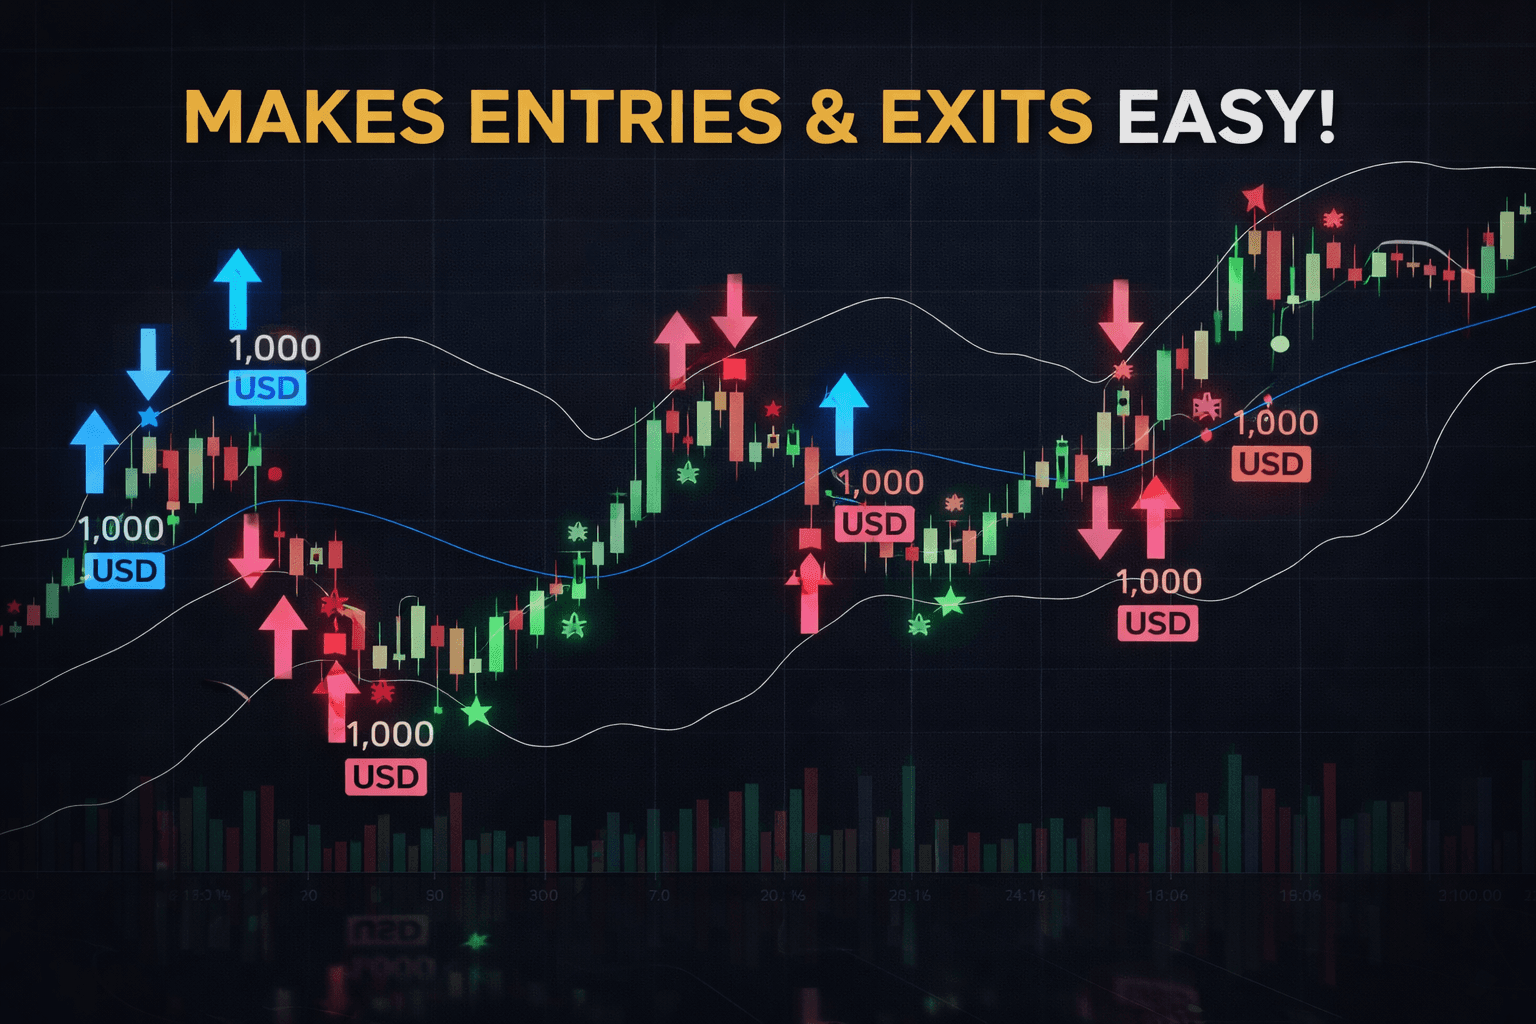
- Initial Capital – The amount of capital in the total portfolio. 1,000 by default. Can be changed by the user.
- Base Currency – The currency to be used as base. USD by default. Can be changed by the user.
- Order Size – Field 1) The amount of funds to be used per trade. Field 2) Can be changed to the base currency, percent equity, or contracts purchased/sold.
- Pyramiding – How many orders can be placed for a single trade. 1 by default. Can be changed by the user.
- Commission – Exchange/broker commission rates (maker/taker fee). 0 by default. Can be changed by the user.
- Verify Price For Limit Orders – Number of ticks past limit price that must be reached for a limit order to be filled. 0 by default. Can be changed by the user.
- Slippage – The amount of ticks to be added to the fill price of market stop orders. 0 by default. Can be changed by the user.
- Margin For Long Positions – Percent of equity required to fund long positions. 0 by default. Can be changed by the user.
- Margin For Short Positions – Percent of equity required to fund Short positions. 0 by default. Can be changed by the user.
- Recalculate – After Order Is Filled) Enables an additional intrabar calculation after an order is filled. On Every Tick) Recalculates the strategy on each update of real time bars.
- STYLE
- Plot – Turn off/on the plotted line by checking this box. Colors changeable by the user.
- Color 0 – Indicates EMA 1 is above all other EMAs.
- Color 1 – Indicates EMA 1 is under EMA 2 but both are above EMA 3 and EMA 4.
- Color 2 – Indicates EMA 1 and EMA 2 have fallen below EMA 3 and EMA 4.
- Labels On Price Scale – Add/remove labels from the price scale by checking this box.
- Values In The Status Line – Remove values from the status line of the indicator by checking this box.
- VISIBILITY
- Set the time frames you would like the strategy back tester to be visible on.
FAQs
- How does the EMA Trading indicator work?
The EMA Trading indicator allows the user to see multiple EMA values represented by a single line with green and red indications. You can configure this a few ways – the default values are sufficient for most times frames. We recommend you watch this video to understand it completely. Tutorial video
- How do I set up the EMA Trading Indicator in TradingView?
With a free TradingView account you can use up to three indicators simultaneously at no cost. Access is typically granted within 1-24 hours after purchase. If it has been longer than 24 hours since your purchase, Please join our discord server here and visit our #get-support channel to get a ticket, or send an email to admin@cryptouniversity.network
✓
What we loved
- •Simplifies multi-EMA analysis
- •Clear bias guidance
- •Works across markets
✕
Room for improvement
- •Like any EMA-based tool
- •common for trend indicators